
I’ll walk you through installing decorative wall moulding in ten steps. Start by planning your layout, measuring twice, and marking a grid with a laser level. Gather your tools—tape measure, miter saw, nail gun, quality adhesive, and safety gear. Cut angles precisely, dry-fit each piece, then glue and clamp corners. Nail strategically, wipe excess glue immediately, and let it cure fully. Finally, fill nail holes, sand smooth, caulk seams, and paint. Follow these steps, and you’ll create a grid pattern that looks professionally installed. Stick around to discover each step’s important details that separate amateur work from polished results.
Plan Your Moulding Layout and Measure Walls
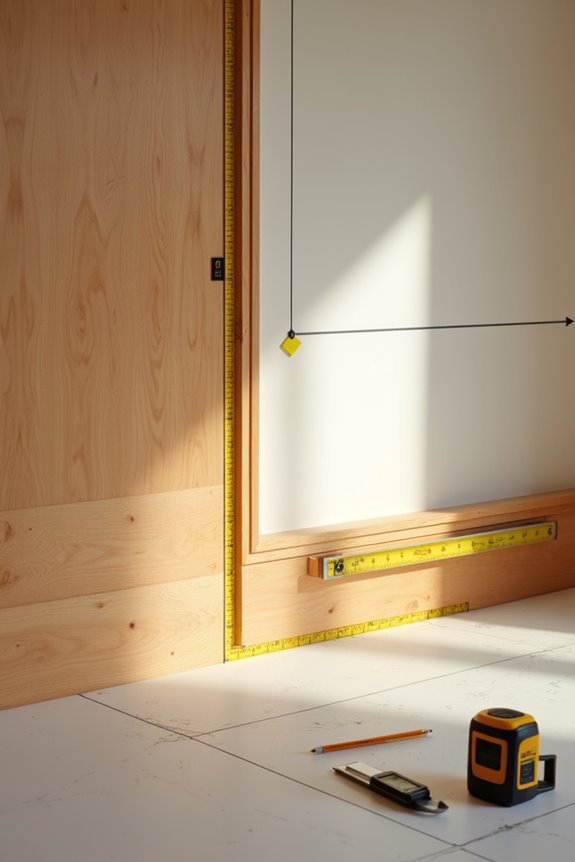
Before you install a single piece of moulding, you’ll want to map out exactly where everything goes. I start by measuring each wall carefully, then add 10% extra for mistakes and waste.
Next, I sketch a grid plan on paper or use a computer layout to visualize box sizes and placements. This is where you decide: do you want uniform widths, or should some boxes be larger to draw eyes toward your room’s focal point?
Here’s my approach: align your boxes with ceiling lines, not door or window frames. This keeps everything looking straight, even in rooms with wonky corners. A solid moulding layout prevents headaches during installation.
Gather Your Moulding Installation Tools and Safety Gear
Gather Your Moulding Installation Tools and Safety Gear
Now that you’ve got your layout locked down, it’s time to round up everything you’ll need to actually install those boxes.
Essential Tools
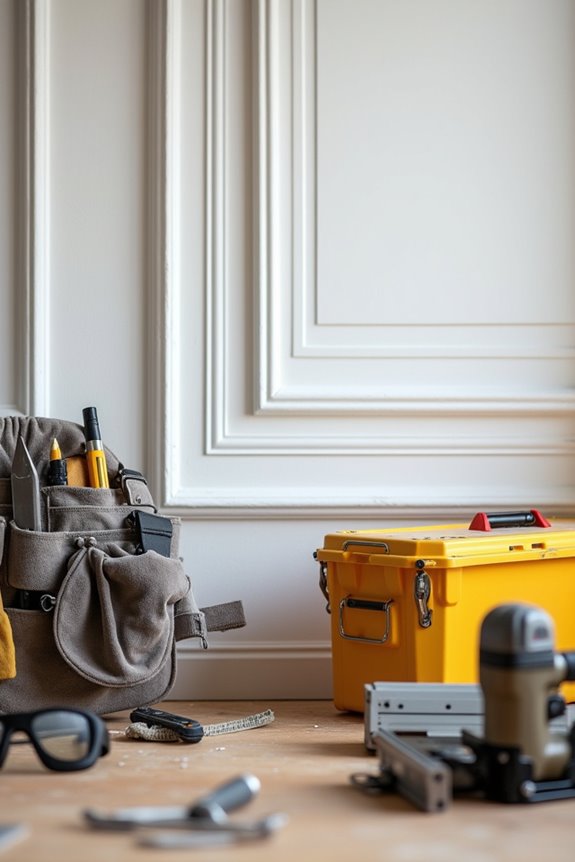
Grab your tape measure, miter saw, nail gun or hammer, caulking gun, and level. You’ll also need a utility knife, square blocks, wood putty, caulk, and rags for cleanup.
Your essential toolkit includes tape measure, miter saw, nail gun, caulking gun, level, utility knife, square blocks, wood putty, caulk, and cleanup rags.
Safety Gear
Don’t skip this part—gloves, safety glasses, and a dust mask protect you while you work. Your lungs will thank you.
Workspace Setup
Prepare a clean cutting area with drop cloths and good ventilation. This matters when you’re using adhesives.
Surface Prep Supplies
Dust cloths or a damp rag help your adhesive bond properly. Grab primer or pre-primed trim if needed.
Quality Adhesive
Invest in high-quality adhesive like Loctite Power Grab Express. It works on wood, drywall, and plaster, minimizing nails and warping.
Clean Walls and Mark Your Grid Layout
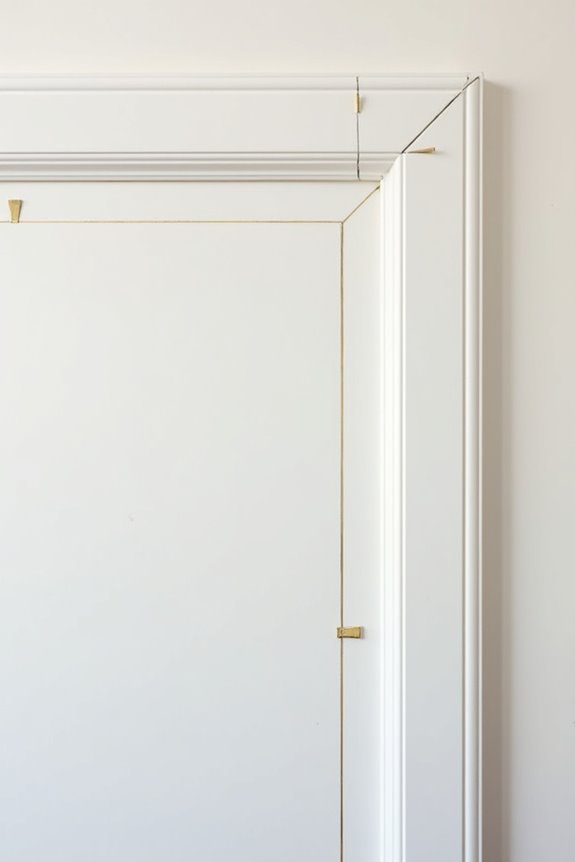
A clean wall is your best friend when it comes to making decorative moulding stick around for the long haul. I wipe down every surface with a dust cloth, removing dirt that’ll mess with adhesive bonding. Next, I grab my marking tools—tape measure, laser level, and pencil—to create my grid plan.
| Step | Action |
|---|---|
| 1 | Measure wall dimensions |
| 2 | Calculate panel spacing |
| 3 | Mark horizontal lines |
| 4 | Mark vertical lines |
| 5 | Verify with level tool |
I sketch my grid on paper first, considering doors and windows. Using a laser level keeps lines straight and true. I align everything with the ceiling for visual balance. This prep work matters because a solid grid foundation means your panels sit perfectly, making installation smooth and professional-looking.
Cut Moulding to Exact Angles and Dry Fit Each Piece
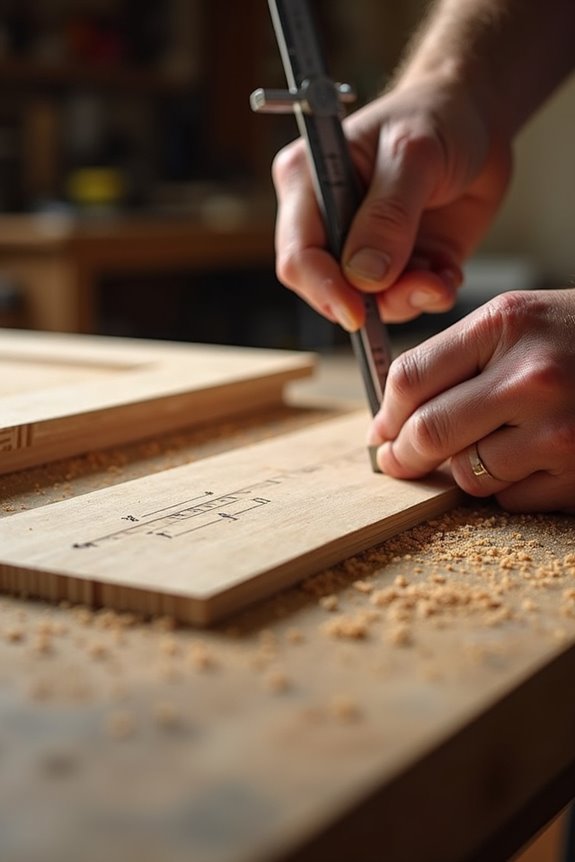
Now comes the part where precision really matters—I’ll show you how to cut your moulding to exact angles, set up your miter saw correctly, and test everything before you commit to the wall. Getting these cuts right is what separates a polished, professional-looking installation from one that looks off, so we’ll take it step by step. Once you’ve mastered the cutting and dry fit process, you’ll feel confident that every piece fits together like a puzzle.
Precision Measurement Techniques
How’s your miter saw feeling today? You’ll want it sharp and ready, because precision measurement is where pros separate themselves from the rest.
Here’s what I do: I measure twice, then cut once. Seriously. I verify every piece length against my plan before making that first cut. Then I label each piece with its exact wall location—this prevents costly mismatches later.
I use a laser level to mark my moulding lines perfectly aligned with ceiling edges and adjacent pieces. Before applying any adhesive, I dry-fit every single piece. This lets me confirm those 45-degree miter angles fit tightly and check joint gaps. I adjust angles if needed, maintaining clean, seamless connections at inside corners.
This extra step saves me from disasters down the road. Measuring carefully now means installing confidently later.
Miter Saw Setup and Cuts
Before you make a single cut, your miter saw needs to be dialed in—sharp blade, zero-clearance fence, and a quick check that everything’s plumb and level. I mark my cut lines precisely with a pencil, using a square to confirm those critical 45-degree angles for corners.
Here’s my approach: I cut each piece slightly oversized, then trim during dry-fit testing. This prevents frustrating gaps later. I verify every accurate cut with a dry-fit before adhesive or nails touch anything.
For inside and outside corners, that 45-degree miter is your friend. I clamp joints tightly during assembly, double-checking alignment against walls and ceilings. Taking time here saves headaches—you’re building the foundation for quality results.
Dry Fit Assembly Process
Why rush to glue and nails when a dry run catches problems before they’re permanent? I always dry-fit every piece before committing to installation. This step protects your work and builds confidence.
Start at the top and work downward. I position my mitered corners first, using miter clamps to hold them steady. Then I check alignment with a laser level or chalk line to verify everything sits flush.
I test each joint for gaps—they should be snug and seamless. I also press pieces against walls and ceilings, watching for uneven contact caused by texture or nonplumb corners.
Mark reference notes on both the moulding and wall with numbers or arrows. This keeps me oriented during final installation.
A thorough dry-fit means fewer surprises later.
Install Your First Moulding Piece and Glue the Corners
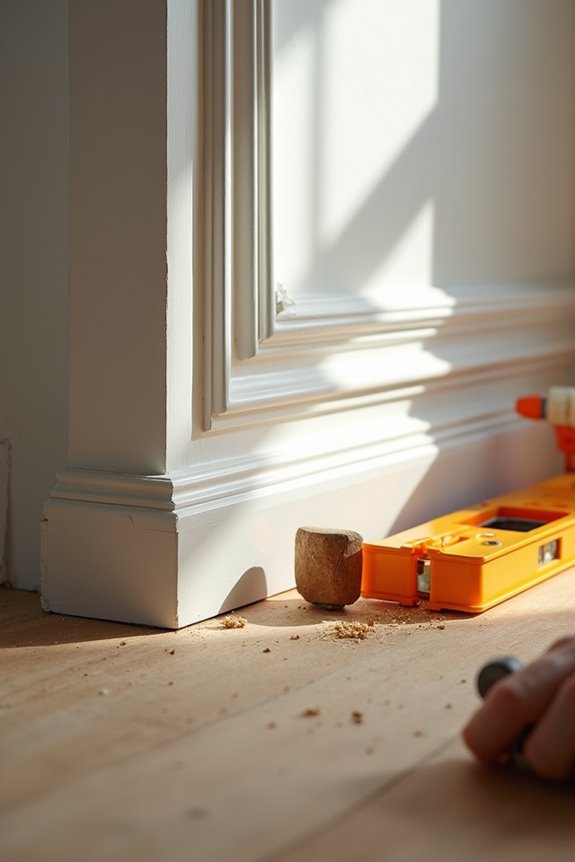
You’re ready to install your first moulding piece. I start by dry-fitting it, pressing gently to confirm it sits flush against the wall. Then I apply the glue, which requires attention to detail: I run a continuous bead of Loctite Power Grab Express Heavy Duty about 1/2 inch from the edge.
| Step | Action | Result |
|---|---|---|
| 1 | Apply glue bead | Even coverage |
| 2 | Press firmly | Strong bond |
| 3 | Use miter clamp | Secure corners |
I press the moulding firmly with consistent pressure, then clamp the corners. Within fifteen minutes, I recheck alignment with my laser level and make minor adjustments. I wipe away excess glue right away. With careful attention to these steps, your walls will have a professionally finished appearance.
Nail Down Both Directions for Maximum Strength
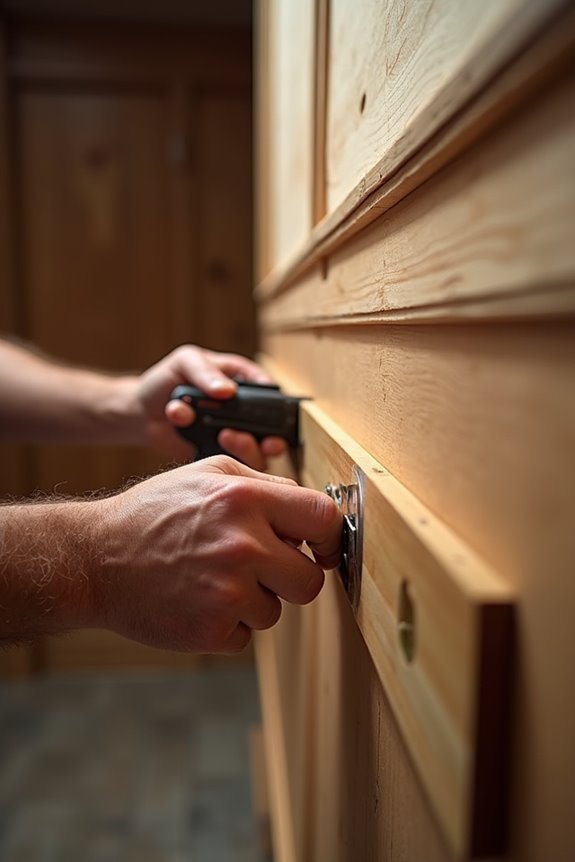
Now comes the part that locks everything in place: nailing your moulding in both directions.
Opposing nailing directions create a cross-bracing effect, which reduces warping and strengthens your corner joints. Here’s what I do: I nail vertical pieces every other stud, alternating directions on adjacent pieces. This technique distributes stress evenly and keeps everything solid.
Opposing nailing directions create cross-bracing that reduces warping and strengthens corner joints, distributing stress evenly throughout.
For spacing, I drive nails every 12–16 inches along straight runs and at corners. The key is avoiding splits—space them thoughtfully. I always reinforce glued edges with nails in multiple directions for gap-free connections that last.
At corner joints, I clamp with miter stops before driving finish nails. This produces square, tight joints that look professional. You’re creating something built to stay put.
Secure the Final Corner With Glue, Clamps, and Nails
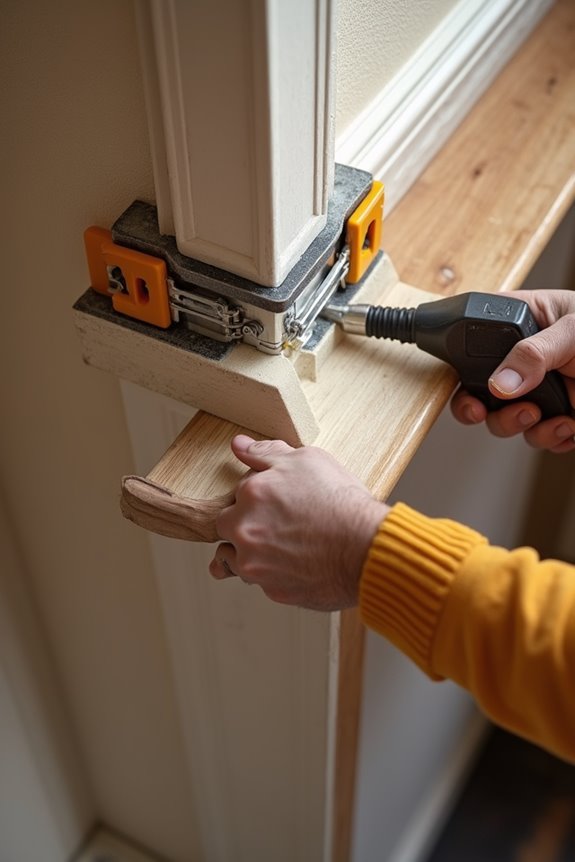
The final corner’s where everything comes together, and it’s the moment that separates a sloppy job from one that looks polished and professional. I dry-fit the pieces first, then apply a continuous bead of adhesive to the mating edge. I press them together with consistent pressure, using miter clamps to hold those 45-degree joints steady while the glue sets.
| Step | Action | Purpose |
|---|---|---|
| 1 | Dry-fit corner pieces | Check alignment |
| 2 | Apply adhesive bead | Create strong bond |
| 3 | Use miter clamps | Hold joints flush |
| 4 | Drive finishing nails | Reinforce corner |
| 5 | Wipe excess glue | Clean appearance |
I recheck plumb and level, adjusting with clamps as needed. Then I drive finishing nails through the final piece, alternating directions from adjacent pieces. After wiping away excess glue, I let everything cure completely before sanding and painting.
Clean Up Excess Glue and Let It Cure Fully
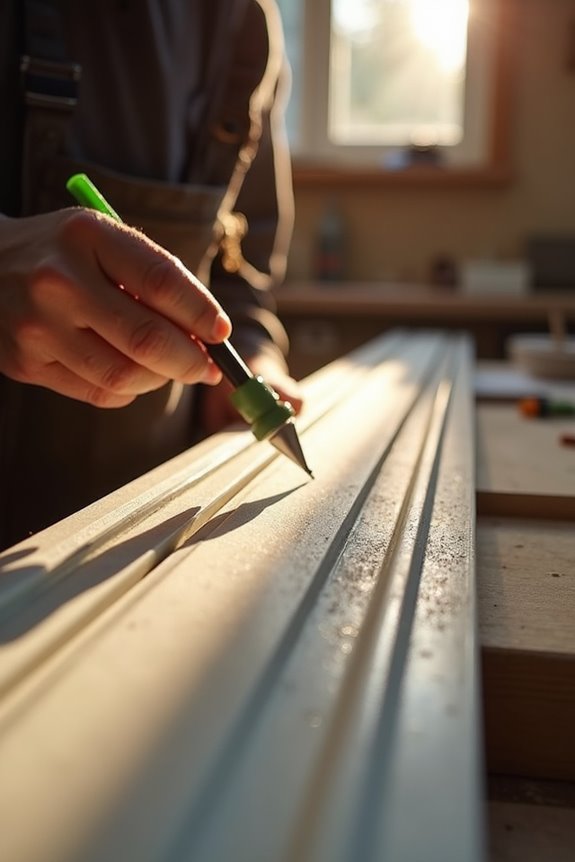
Once those clamps are holding steady and the nails are driven home, the real cleanup begins—and this part is just as important as getting the joints tight.
Here’s what I do for glue cleanup and curing:
- Wipe immediately – I use a damp rag to remove smeared adhesive from molding edges before it hardens
- Let it cure fully – I follow the label’s instructions; most adhesives set in minutes but need 24 hours for full strength
- Don’t disturb it – I avoid applying pressure during curing, which prevents shifting and bond weakness
- Finish the cleanup – Once cured, I inspect joints for adhesive squeeze-out and trim dried excess with a utility knife
Patience here pays off. You’re building something that’ll last.
Fill Nail Holes, Sand Smooth, and Caulk Seams
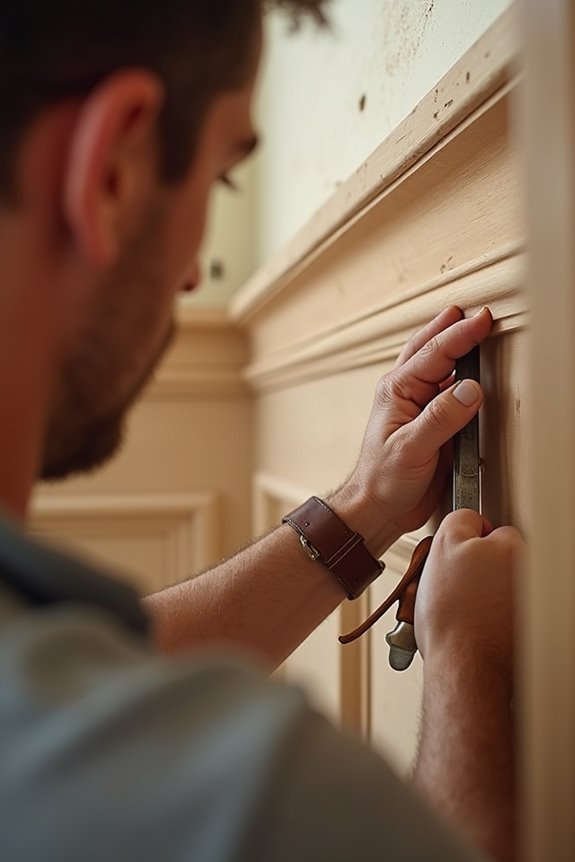
Now that your glue’s cured, I’ll walk you through the finishing touches that make your trim look professionally installed. You’ll fill those nail holes, sand everything smooth, and seal up any gaps with caulk—these steps are what separate amateur work from polished results. Let’s tackle each one so your molding looks properly finished when it’s time to paint.
Filling Nail Holes Properly
How’d those nail holes turn out? They’re probably staring at you right now, and that’s totally normal. Here’s your approach to make them disappear:
- Choose matching wood putty or filler that blends with your molding color
- Press filler firmly into each nail hole with a putty knife
- Overfill slightly so you’ve got material to work with
- Let it dry completely following the product’s time recommendations
Once dry, grab fine-grit sandpaper and sand those filled areas smooth. You’re aiming for a surface that’s flush with the surrounding molding—no bumps or divots. This sanding step matters because it sets you up for a professional-looking result. Wipe away all dust with a tack cloth before moving forward. You’re on the right track, and you’re almost done.
Caulking Corners And Seams
You’ve sanded those nail holes smooth, and now it’s time to tackle the gaps that are probably lurking in your corners and seams.
I’m applying high-quality latex caulk along inside corners and where trim meets walls. This bridges those sneaky gaps and prevents future cracking. Here’s my caulking strategy:
| Step | Action |
|---|---|
| Apply | Run caulk smoothly along seams |
| Smooth | Use damp finger or tool |
| Wipe | Remove excess with clean rag |
I’m smoothing the caulk with my damp finger, working it into the seams for a seamless transition. Then I’m wiping away excess so nothing looks messy or unprofessional.
Once the caulk cures completely, I’ll touch up with matching paint. That final coat makes everything look polished and uniform.
Prime and Paint Your Moulding Grid to Match Your Walls
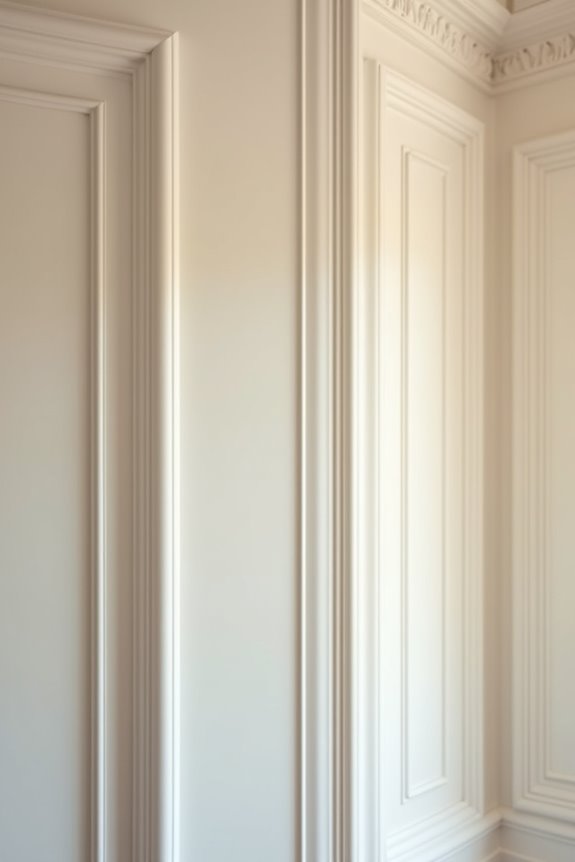
Why wait until after installation to deal with painting? I’ll prime and paint my molding beforehand, which saves me time and hassle later. Here’s my approach:
- Apply primer and one coat of paint before installation
- Use a laser level to check alignment with ceiling lines
- Sand lightly between coats for better adhesion
- Choose low-odor, semi-gloss paint for durability
I pick interior-safe primers that minimize fumes in my workspace. When I paint the molding grid in sections matching my wall colors, I create clean edges once installed. This prep work means fewer touch-ups after everything’s up, and I get that uniform, professional finish I’m looking for.