Create custom curtains with designer results on a limited budget—no sewing required. Iron-on hem tape delivers instant hems, while paint-and-stencil techniques produce custom patterns. Pleating tape creates professional folds within hours. Layer contrasting fabrics, add Greek Key trim for detail, and use clips instead of stitching for hanging. Combine painter’s drop cloths with decorative ribbons for one-of-a-kind designs. These seven methods work together to deliver polished, custom curtains regardless of your budget. Keep scrolling to learn how each technique works.
No-Sew Ways to Decorate Curtains in Minutes
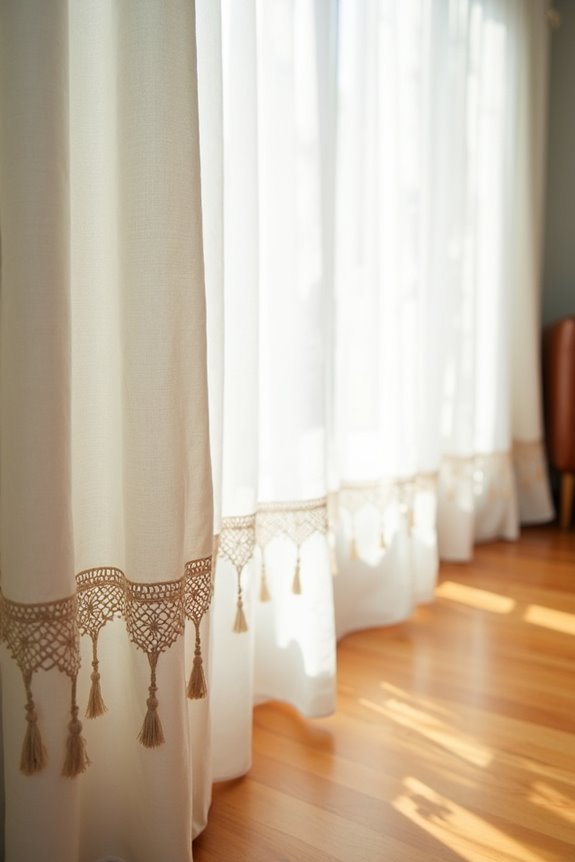
When you’re ready to upgrade your curtains but don’t own a sewing machine (or simply don’t want to use one), you have solid options that’ll give them a new look fast. No-sew methods work well for creating polished looks without any stitching involved.
No-sew methods deliver polished curtain upgrades fast, whether you lack a sewing machine or prefer stitching-free solutions.
Iron-on hem tape is your quickest option here. You’ll apply it between fabric layers, press with heat, and you get instant hems. I always test it on scrap fabric first.
Want visual interest? Try adding ribbon with fabric adhesive to create Greek Key patterns or simple trim details. You can also hang curtains using clips or rings instead of sewing headers entirely.
Pleating tape is another effective option. Attach it to your curtain tops for that built-in pleated effect, giving you designer-quality results without touching a needle.
Paint and Stencil Custom Designs Fast
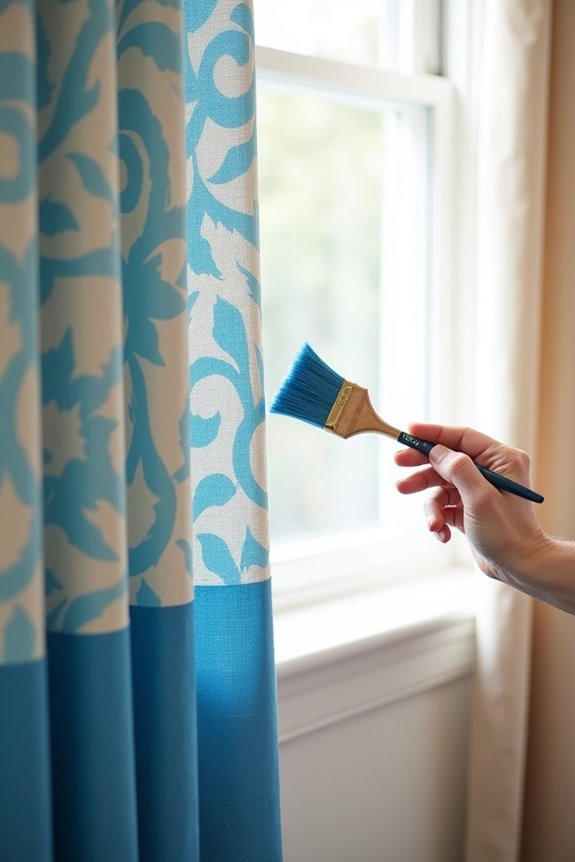
I’ve found that paint and stencils are your fastest route to custom curtains, creating designer-quality panels in an afternoon. You can use washable paint with simple stencil designs, bold stripes, or even Sharpie art—whatever matches your style—and everything washes out easily when you want a change. Before committing to your full curtains, though, I always test my design on scrap fabric first to make sure the paint sticks, the color holds, and it’ll survive a wash.
Washable Paint Techniques
Creating custom artwork on plain curtains doesn’t require fancy equipment or professional skills—you just need washable paint, a stencil or two, and maybe an hour of your time.
I’ve found that stencils make everything easier. They protect the areas you’re not painting, keep your designs crisp, and let you repeat patterns without stress. Here’s what I recommend:
- Test your washable paint on a fabric swatch first
- Use stencils to create stripes, geometric patterns, or Greek key designs
- Apply paint directly onto curtain panels for bold effects
- Layer multiple stencils for complex artwork
- Wash your finished curtains gently to preserve the design
The benefit? You’re joining a group of DIYers who’ve discovered that professional-looking curtains don’t need professional prices. Start simple with stripes, then get creative.
Stencil Design Application
Most stencil designs come together faster than you’d think, especially once you’ve got your supplies lined up and ready to go. I recommend starting with budget options like Greek key patterns or simple geometric motifs on your curtains.
Here’s what I do: I test my stencil on fabric scraps first, checking for paint bleed-through and adhesion. This prevents disappointment when you’re working on actual panels.
My go-to approach:
- Tape your stencil securely to avoid shifting
- Use a stippling motion with your brush rather than brushing back and forth
- Let paint dry completely between layers
- Apply light coats to maintain durability
Whether you want bold statement designs or subtle repeating patterns, stenciling changes ready-made panels into something that’s distinctly yours—no sewing required.
Add Trim, Appliqués, and Pre-Made Accents
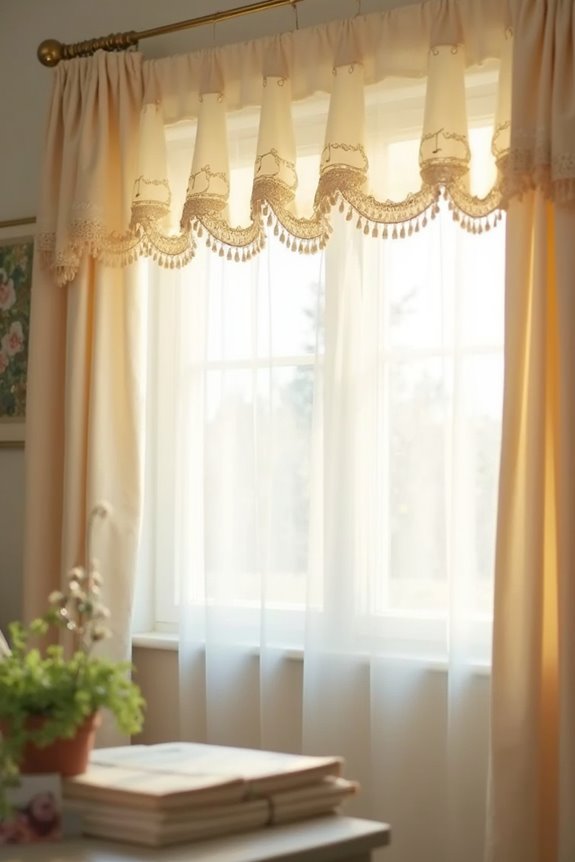
Want to upgrade your curtains without sewing skills or a big budget? I’ve found that trim and appliqués work well on ordinary curtains. You don’t need fancy expertise—just creativity and the right tools.
Here’s what works best:
- Iron-on tapes like Stitch Witchery attach trim instantly without needles
- Greek Key borders and ribbon create that designer look affordably
- Pre-made panels from Etsy or Ballard Designs need just finishing touches
- Pleating tape with hooks give formal pinch-pleat effects easily
- Painter’s drop cloth becomes your budget-friendly canvas for flat trim
I always test adhesive on fabric scraps first. This prevents disasters and keeps your trim in place. You can create custom results your own way.
DIY Hemming and Borders for Sharp Edges
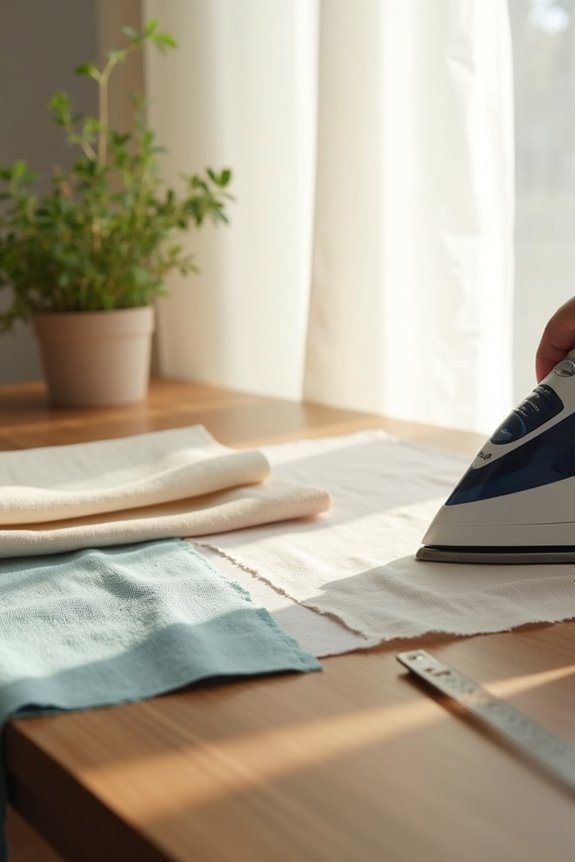
I’ll show you how to get those crisp, polished edges that make curtains look professionally finished, and here’s the best part—you don’t need a sewing machine to do it. Iron-on hem tape and Stitch Witchery are effective tools because they let you create clean hems in minutes, and you can even reinforce them later if you want extra durability. Let me walk you through the techniques that’ll give your curtains a polished look, whether you’re working with a deep hem or a decorative border.
Iron-On Tape Methods
One of the easiest ways to update your curtains is with iron-on hem tape, a heat-activated adhesive that bonds fabric without a single stitch. This method works well for beginners, and you’ll achieve crisp, professional-looking hems in minutes.
Here’s what makes iron-on tape so effective:
- Creates permanent bonds using just heat from your iron
- Works on hems, edges, and decorative borders smoothly
- Requires no sewing skills or equipment
- Dries quickly, so you’re done faster than traditional methods
- Lets you test on fabric scraps before committing
Simply position your iron-on tape between two fabric layers, press with a hot iron for seconds, and you’ve secured everything perfectly. I recommend testing on a sample first. Brands like Stitch Witchery and Steam-A-Seam deliver reliable results every time.
Stitch Witchery Application
How do you get perfectly crisp hems without breaking out your sewing machine? I’ll tell you: Stitch Witchery. This adhesive bonds fabric layers together, creating clean hems and borders that rival hand-stitching.
Here’s what I’ve learned: test it on fabric scraps first. Apply Stitch Witchery between layers, then follow the heat and pressure guidelines on the package. I use my iron on medium-high, pressing firmly for several seconds.
| Method | Result |
|---|---|
| Stitch Witchery alone | Durable hems |
| With pleating tape | Professional edges |
| Multiple layers | Extra strength |
| On delicate fabrics | Requires testing |
| Budget option | Saves time |
Countless crafters have ditched their needles for this adhesive. Your curtains will benefit from this method, as will your sewing projects.
Finished Edges Techniques
What separates amateur curtains from those that look professionally finished? Sharp, polished edges. I’ve learned that hemming and border treatments improve budget materials into high-quality looking pieces. You’ll want to explore these finishing options:
- Add grommets at the top for a sleek, modern look
- Apply decorative trims or Greek Key-style ribbons along edges
- Create deep hems (12″–14″ works beautifully) for designer appeal
- Use iron-on hem tape for quick, durable results
- Combine multiple techniques for layered sophistication
I always test adhesive methods on fabric scraps first—this saves disappointment. When you invest time in finished edges, your curtains shift from “homemade” to “deliberate.” That’s the moment you’ll feel satisfied hanging them. These techniques work whether you’re using painter’s drop cloths or premium fabric. Sharp edges signal care, and that’s what makes your space feel deliberate.
Get Designer Pleats With Tape and Hooks
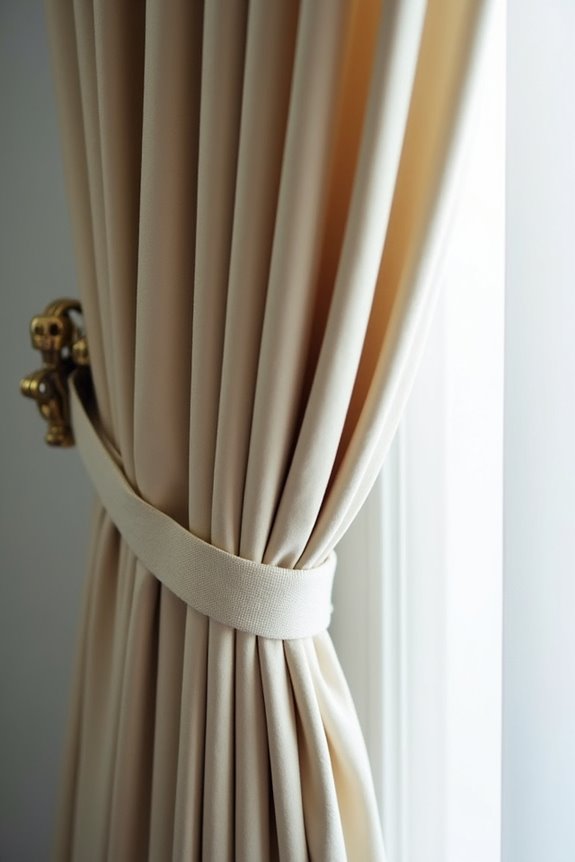
Create professionally pleated curtains in just a few hours—and you don’t need to be a sewing expert.
Create professionally pleated curtains in just a few hours—and you don’t need to be a sewing expert.
Here’s how to do it. First, grab pleating tape—it’s what makes this work. Attach your pleating hooks (use 4-prong for fullness, 3-prong for subtle pleats) directly into the tape slots. Here’s the pattern: start at the fourth slot from your edge, then skip every other slot after that.
Hang your rod high—about 6 to 8 inches from the ceiling—and slide on your curtain rings. Insert those hooks into the rings. Want maximum drama? Use two panels per side with roughly ten hooks each. They’ll join seamlessly and slide like butter.
Your curtains now have that high-end, designer look you’ve been wanting.
Layer Contrasting Fabrics for Depth
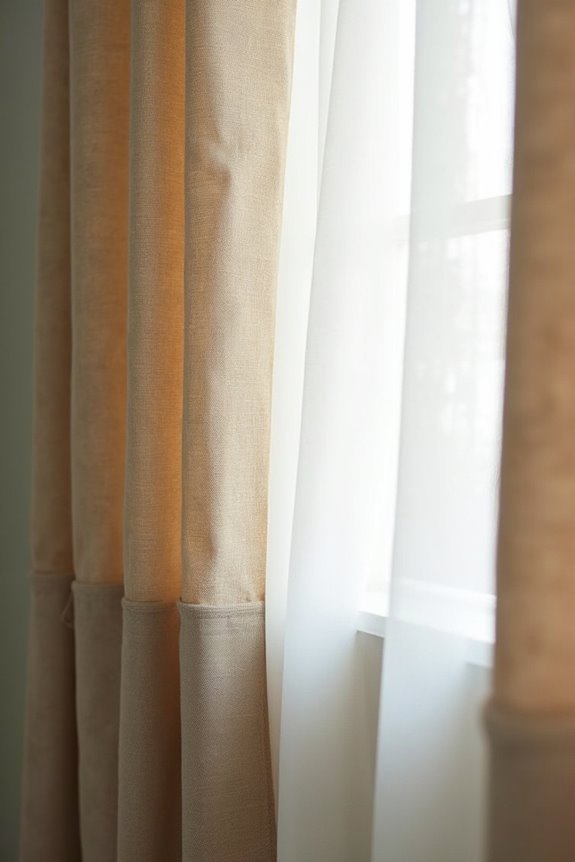
Once you’ve nailed those designer pleats, layering contrasting fabrics is your next move to add real depth and dimension to your curtains.
Mixing different fabric weights creates visual interest without requiring advanced sewing skills. Here’s what I recommend:
- Combine a linen-blend drape with a thinner sheer layer
- Use ready-made panels with post-purchase trim enhancements
- Try deep-hem curtains paired with lighter outer panels
- Add Greek Key or decorative trims along the front
- Mix painter’s drop cloths with inexpensive textiles
The benefit of layered curtains? You don’t need complicated techniques. I use no-sew methods like iron-on tape or Stitch Witchery to attach contrasting fabrics quickly. This approach saves time while delivering a polished appearance. Check Etsy crafters and Ballard Designs for affordable trim options that replicate designer styles beautifully.
Combine Techniques for One-of-a-Kind Results
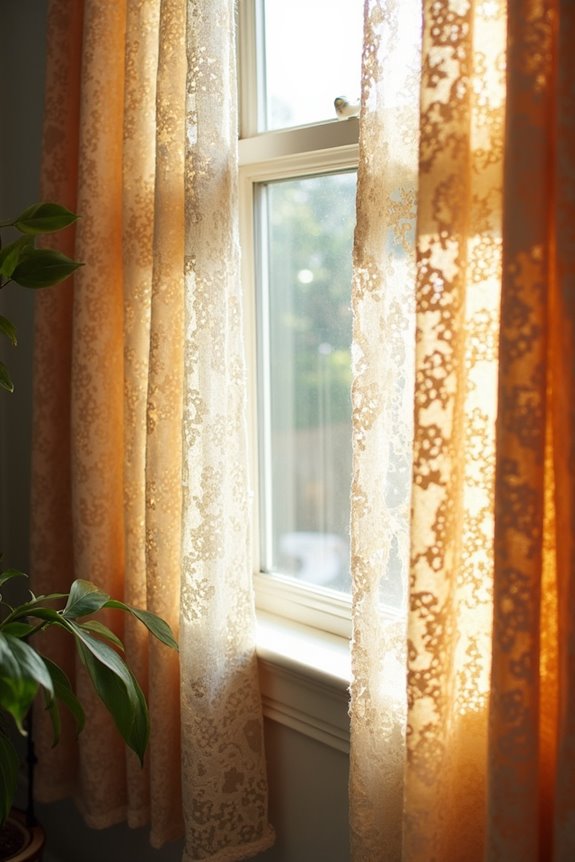
Start with affordable painter’s drop cloth panels as your base, add pleating tape for structure, then top it off with a Greek Key trim along the front edge. You’ve created custom-looking curtains that rival designer options.
Affordable painter’s drop cloths plus pleating tape and Greek Key trim create designer-quality curtains on any budget.
About combining techniques: you’re mixing budget-friendly materials into something special. Hang your curtain rod six to eight inches from the ceiling, slide rings onto it, then insert pleating-tape hooks into the slots for uniform fullness. That structured look works.
Layer in decorative ribbons or borders next. Source oversized panels from Etsy or budget retailers, then customize them post-purchase with trims that match your style.
You’re not just decorating—you’re part of a community of makers who know quality doesn’t require expensive price tags. Your curtains become your own.